Alright, folks, today we’re diving deep into a subject that every car owner should be familiar with: window regulator replacement. If you’ve ever had the misfortune of dealing with a malfunctioning car window, you know how frustrating it can be. But fear not, because in this ultimate guide, we’re going to walk you through everything you need to know about replacing your window regulator like a pro.
Chapter 1: Understanding the Window Regulator
Before we jump into the nitty-gritty of replacement, let’s start with the basics. What exactly is a window regulator? Well, it’s the unsung hero behind your car’s power windows. The window regulator is a mechanical component that controls the up and down movement of your window glass.
Chapter 2: Identifying Common Window Regulator Issues
Now that we know what a window regulator is, let’s talk about the signs that indicate it’s time for a replacement. We’ve covered some of these signs in a previous article, but it’s worth revisiting. Look out for strange noises, sluggish movement, windows that stop midway, spontaneous lowering, window tilt, and total immobility.
Chapter 3: Gathering the Tools and Materials
Before you roll up your sleeves and get to work, you’ll need the right tools and materials. Here’s a list to get you started:
- Screwdrivers (Phillips and flathead)
- Pliers
- Trim panel removal tool
- Socket and ratchet set
- Replacement window regulator
- Gloves and safety glasses
- A clean, well-lit workspace
Chapter 4: Preparing for Replacement
Safety first, folks! Before you start dismantling your car door, make sure the vehicle is parked on a level surface, the engine is off, and the ignition is key is removed. Disconnect the car battery to avoid any electrical mishaps during the replacement process.
Chapter 5: Removing the Door Panel
The door panel is your gateway to the window regulator. Use your trim panel removal tool to carefully pry off the door panel, starting from the bottom and working your way up. Be gentle to avoid damaging the clips that hold the panel in place. Once the panel is loose, disconnect any electrical connectors for window controls and door locks.
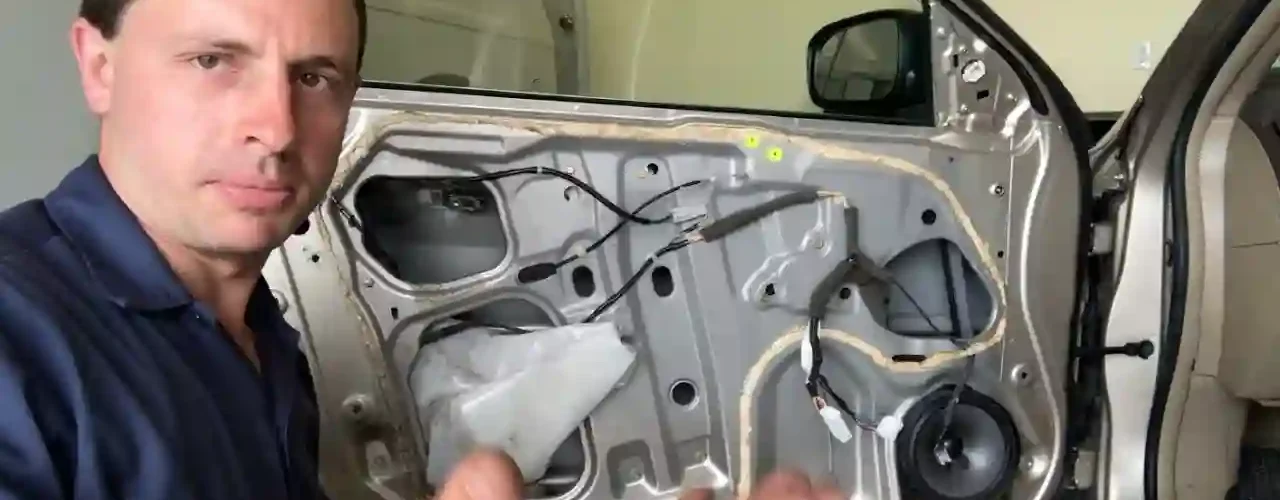
Chapter 6: Accessing the Window Regulator
With the door panel out of the way, you’ll have access to the inner workings of your car door. You’ll likely see a plastic moisture barrier that you should gently peel back to reveal the window regulator. Take a moment to observe how the regulator is attached, and don’t forget to document or take pictures to help with reassembly later.
Chapter 7: Removing the Old Regulator
Now comes the real fun. You’ll need to remove the old window regulator. This typically involves removing bolts or screws securing it to the door frame and disconnecting any linkage or electrical connections. Be sure to support the window glass as you remove the regulator to prevent it from falling.
Chapter 8: Installing the New Regulator
It’s time to bring in the new window regulator. Carefully align it with the mounting holes and reconnect any linkages or electrical connections. Double-check your work to ensure everything is secure. Once that’s done, lower the window glass into the regulator’s clamps and secure it.
Chapter 9: Testing and Fine-Tuning
Before you put everything back together, it’s crucial to test the new regulator. Reconnect the car battery, turn on the ignition, and check if the window functions smoothly. If it does, congrats, you’re on the right track! If not, you might need to make some adjustments or double-check your installation.
Chapter 10: Reassembling the Door
With the window working as it should, it’s time to put everything back together. Start by reattaching the plastic moisture barrier, then carefully snap the door panel back into place, making sure all the clips secure it tightly. Reconnect the electrical connectors for window controls and door locks.
Chapter 11: Final Checks
Once you’ve reassembled the door panel, do one final check to ensure everything is in order. Test the window again, and listen for any unusual noises. If everything looks and sounds good, you’re ready to hit the road with your newly replaced window regulator.
Chapter 12: When to Seek Professional Help
While this guide is designed to help you tackle window regulator replacement on your own, it’s essential to know your limits. If you’re not comfortable with any step of the process or run into unexpected complications, don’t hesitate to seek professional help. Your safety and the proper functioning of your car are paramount.
In conclusion, replacing a window regulator might seem like a daunting task, but with the right tools, materials, and a bit of patience, it’s a manageable DIY project. Just remember to follow safety precautions, take your time, and don’t be afraid to seek professional assistance if needed. Soon enough, you’ll be enjoying smooth and trouble-free window operation once again. Happy DIY-ing!