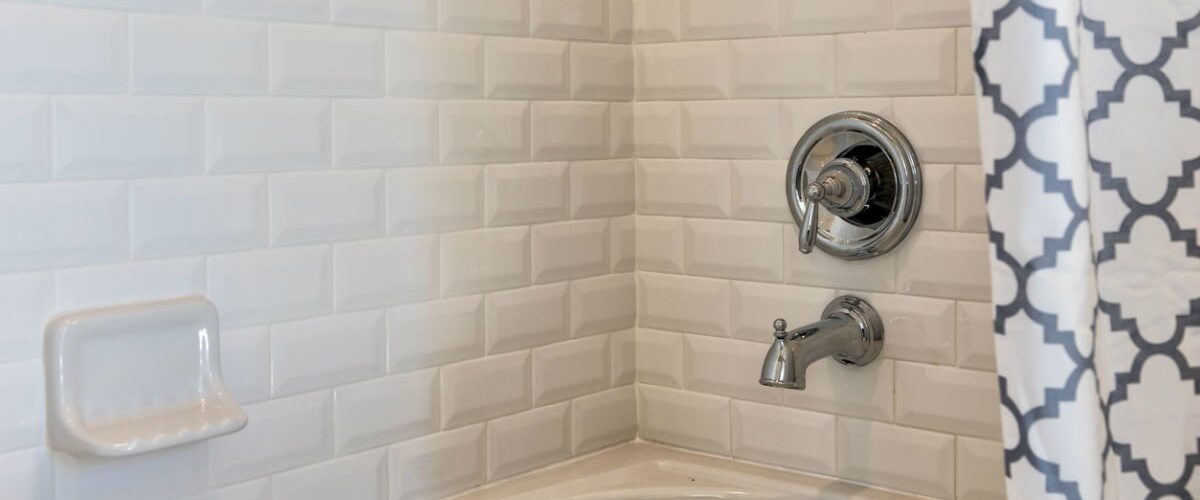
A bathroom is a place in your house that requires cleanness because all germs and diseases arise from the bathroom—especially the molds in the washbasin or washroom. Also, if you need a bathroom fitting service you can read the Installation Guide.
If the area starts blackening, your restroom will look dirty despite cleaning it every day.
Bathroom caulking is a severe problem when it starts shrinking, cracking, and discoloration. In the end, it results in water damage. You cannot find this type of issue at places like metal building homes, metal barns, or metal carports.
If you are those people who are desperately looking to replace moldy caulk in a shower or bathtub, read this article to stop your search. We’re sure that you would be able to replace the moldy caulk in a bathtub or shower at the end of reading this article. So, here we go with the detailed steps.
Removal of Old Caulk
The first and foremost thing you need to do is remove the old caulk. How? Let us explain to you in detail. First, scrutinize the caulk; It requires you to check the areas that are always wet. Like you can check the corners or bottom of the bathtub. To remove the caulk, you need a putty knife. Alternatively, you may also make use of a razor blade. Well, it all depends on the condition of the caulk. Experts recommend not to hassle and work with care. Because it might cause harm to you. The tile surface must be durable and remove the old caulk entirely from the surface. Sometimes, old caulk remains in good condition, but that also has to be removed. It won’t work if you partially remove the caulk.
Here we would like to share you a tip! While re-caulking the bathtub or shower, you should fill the entire basin with water. Due to this, the weight of the tub increases and expands gaps between the tiles.
Cleaning of the Surfaces and Tiles
It’s time to remove the useless debris of the caulks from the tiles or surface. To do this, you may take a paper towel and pour some alcohol into it. And rub it on the place of the caulk. Now, apply the wet towel on the surface to get things cleaned. This step is very crucial to establish a strong bond between caulk and clean tile.
Apply The New Caulk
Once you’ve cleaned the old caulk and its residual, you are all set to apply the new caulk. Get a caulk tube from the market. Cut the tube slightly thin. Now set the tube in the caulking gun. It will help you to apply the new caulk or silicone in the best way. At this step, you need to keep in mind a few things. First, It is not that easy to apply the silicone as it appears. It would help if you swiftly dragged the tip of the gun to match with the speed of the caulk releasing. In the first place, try to do your work neat and clean. If extra caulk releases at some areas, make a fine thick line of the caulk.
It is an effortless task which many people find complicated due to hassle and hesitation. After every use, make sure you clean the tip of the gun and tube. So, this way, you have to draw the caulk boundary throughout the perimeter of the bathtub or shower.
Give a Finishing Touch
It is not surprising if you still have excess caulk globs despite being very careful and slow. Well, no issues. There is a way out of it. Dip your finger in the water and spread it over the excess caulk to smoothen it. This compresses the extra left-out caulk into the open spaces. While doing this, note that you don’t need to put useless caulk on the tiles. If you’re doing this using your finger, make sure your finger is clean and wet every time.
If you find some left-out spaces where the caulk is missing, you may also transfer the excess caulk there. For this, we suggest you make use of a wet paper towel. Most of the time, caulk or silicone takes a few minutes to set. However, to prevent any leakage, it is good to use it after a few hours. When the caulk gets dry, you can carve the edge using the razor blade or any sharp thing.


